
Okay, cleared!
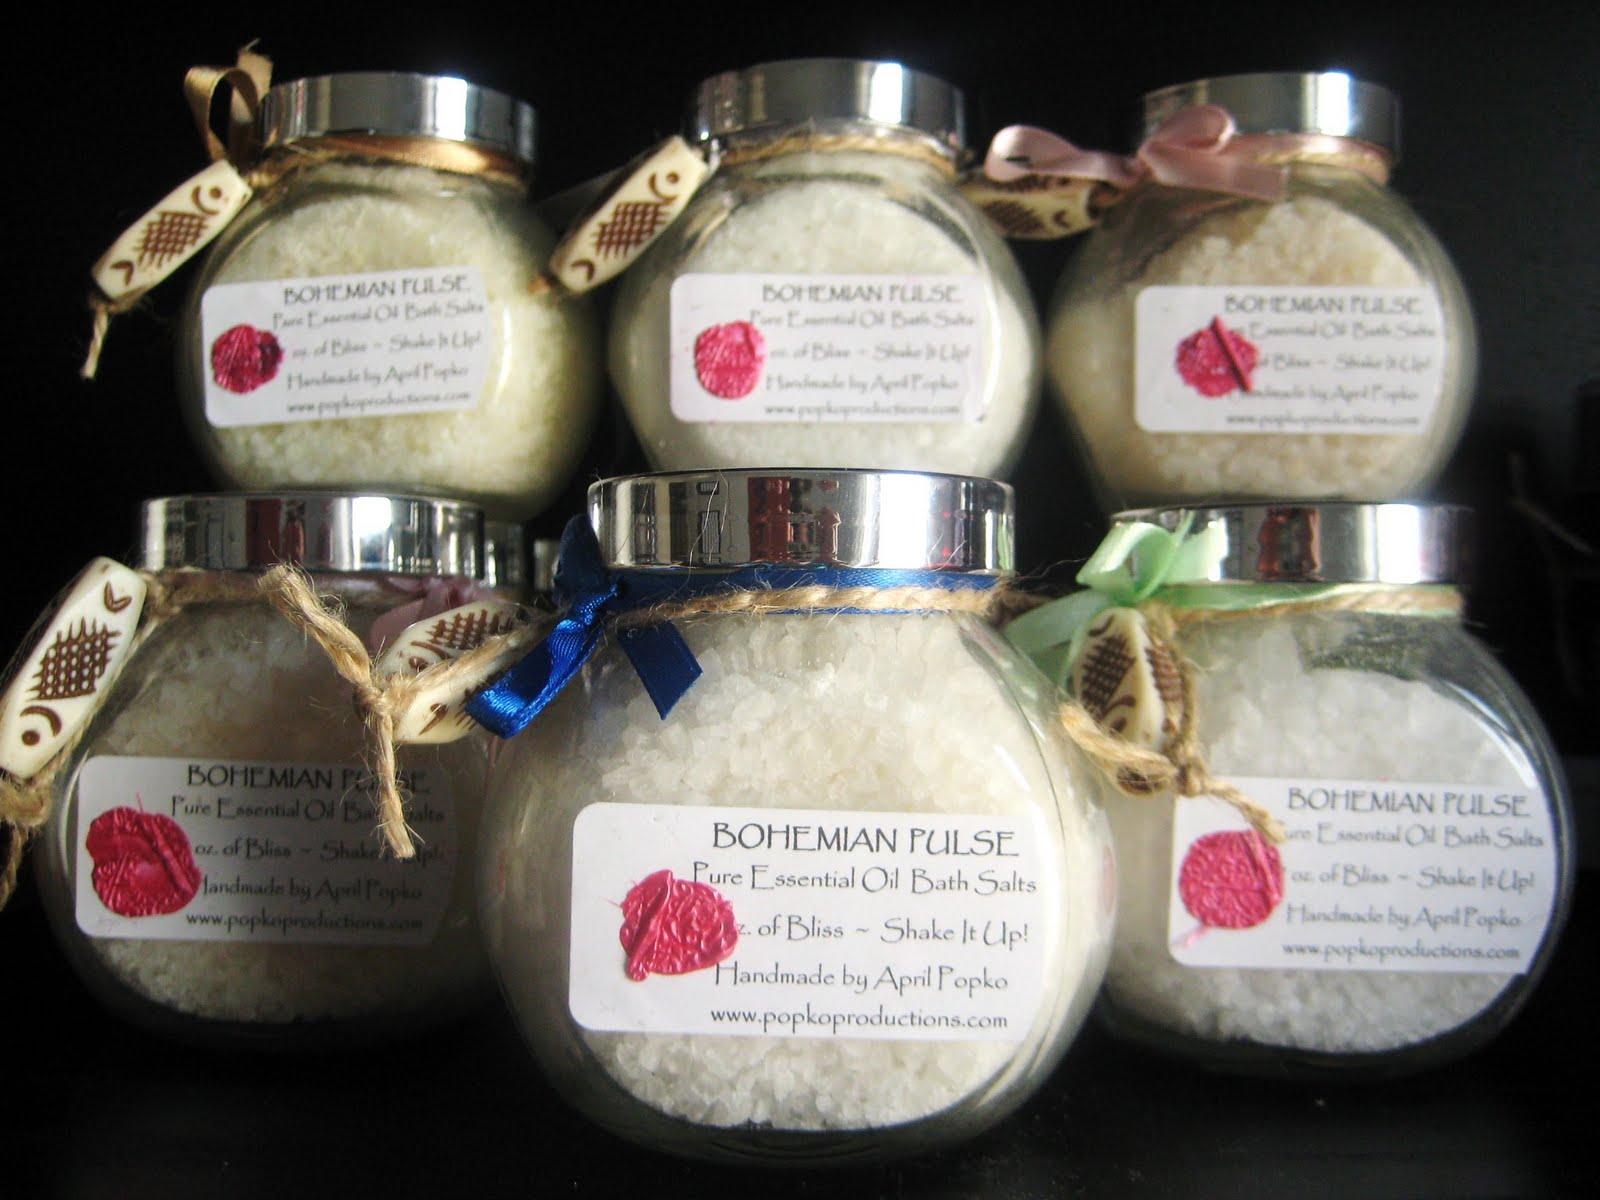
 How it started:In March I went to the Czech Republic to visit my sister, and we decided that having a sale would be really fun- together. She makes jewelry too, beaded jewelry and funky necklaces and accessories. She also makes delicious products like home & body sprays, bath scrubs and other yummy things with essential oils. She's had a few sales in her home overseas, so she knows a thing or two about how to wrangle in the troops, I mean buyers/ friends.I've never hosted a home party, or even been a vendor at one, and now that I think about it- Ive never even shopped at one, so this was all new to me. Thanks to my sissy April, I am happy to say that now I'm not scared of them anymore!
I am a seasoned craft show vendor/seller/ shopper. I have done little shows, and (according to me) huge shows. (The huge ones are the ones that cost over $150 to attend and have to look reallllly pretty on display.) The little bitty ones are where little bitty old ladies sell right next to me and I make nary a dollar but still have fun. I know all about customer experiences/relations, selling, displays and the "arrive and sell" part of shows.
Her show experience:She's sold her stuff right along side me in the summertime since we were about 7. We've done beach sales, and yard sales, and craft sales on our friends lawns. I don't think shes ever had to formally 'apply & pay'- wait, we did the flea market many years ago where we had to pay.


She's also had a few home parties before (in Czech republic), with cocktails and cupcakes that were a success and a lot of fun. Shes only hosted them by herself.
This is her first one where she invited other crafters/artists/vendors to show along side her.
The artists:
There was moi, my sister, and she invited a woman who makes childrens clothing, and also a masseuse! Right on! There were supposed to be one or two more gals selling, but they didn't show (which turned out great space-wise, re:checkout).


The guests/shoppers:
It was a little tricky with the invitations, because it was in her home, we couldn't advertise all over the world. We didn't want strangers to eat our cupcakes! Or steal her children. So, we left it up to the other vendors and her friends and friends of friends to spread the word.
And she sent an evite from evite.com.

The invitation listed the items & artists that would be selling. She also mentioned that there would be a free raffle drawing for a giant gift basket of crafted goodies.
She also posted on facebook more often than I would have, only because I am shy/weird (and havent started a fan page, I know, I know).
She sent out the evite and it has a yes/no/maybe tally so we could sort of get an idea of #'s & interest.She sent it out like 6 weeks ahead and about 2 weeks ahead as a reminder. I think I would've done it a few days before as well. Its a fine line between advertising and irritating. She did it perfectly, because the guests were there! There was possibly 40 people there.(april correct me because it may have been more).
Our show was on a Saturday at the end of March from 3-7pm.
Like I said, she did all the work, and she is amazing. :)
The digs:
It was less than 24 hours after my plane landed, so we had to hustle to get it all set up in her living room!
 I was sort of expecting this show to be somewhere in between the good shows and the bad shows, but we agreed that it didn't matter if anyone showed up because we would be in her living room, and we would have a bottle of champagne handy for better or worse. Either way, we would have fun. I was in Europe, an exotic land fahhh fahhh away, with my sister, and we had champagne..there's no way to not enjoy ourselves. Did I mention champagne?
We moved all the furniture around to make a big open space for the two main tables.
we borrowed neighbors tables and furniture for display. It turned out well that she has one dedicated year-round ikea shelf unit for showcasing her jewelry. This was used to showcase a lot of her jewelry stuff (beaded necklaces & earrings), and also my mothers sewn items, and two more sisters work (feather hair accessories and more jewelry). Side note: there's a lot of us popkos and we all make things! 5 sisters and two incredibly talented parents.

The tables:
Worked out that I got one big one and she got one big one. YAY!
Worked out that I got one big one and she got one big one. YAY!
What we didn't intend, was for the other crafter to NOT show up. This gave us free space. What to do with it? We made a checkout table! This worked amazingly well. I recommend that everyone do this when you have a show. We didn't set it up until people were already shopping and choosing things to buy. We were holding out for the last crafter. (see empty table on the right?)

As SOON as we made it the official checkout/wrapping table, the customers flocked to the spot. They finally had direction as to 'what' to do next! It really gave them a destination. Otherwise, I can see how they would flounder like, "where do I give them the money?" "Do I interrupt crystal and her cheese and cracker frenzy?" "which sister do i pay?".
It gave them somewhere to drop their "basket" of goodies.
 We made a checkout table! This worked amazingly well. I recommend that everyone do this when you have a show. We didn't set it up until people were already shopping and choosing things to buy. We were holding out for the last crafter. (see empty table on the right?)
As SOON as we made it the official checkout/wrapping table, the customers flocked to the spot. They finally had direction as to 'what' to do next! It really gave them a destination. Otherwise, I can see how they would flounder like, "where do I give them the money?" "Do I interrupt crystal and her cheese and cracker frenzy?" "which sister do i pay?".
It gave them somewhere to drop their "basket" of goodies.

The basket: Aprils genius idea. Just like at the candy store, just fill up your basket/bowl and take it to the checkout. This will allow them to not think about how much they are carrying around. It was intended to make their life easier, but really worked for the former reason!
 The snacks: Aprils wonderful baking genius friend made glorious cookies, brownies and cakes. She should have been selling those confections, maybe this will fluff her feathers a little and make her want to next time! There was plenty of "help yourself" snacks and drinks in the kitchen. Tea, coffee, cocktails. This is right off the living room and everyone felt comfy gathering there at first, before venturing off into shopping land.
April and I just wandered around the whole time telling people to try things on and assisted them with the bath salts and such.
 I did a lot of the "checking out" and tried my best to keep tabs separate, and figuring out what the foreign bills and change were added to the fun. It was a casual affair, where someone was helping to keep the music fun, others were just sitting on the couch chatting. Everyone got a massage! It was an 8 minute massage for the equivalent of about $5 or $6. Deal!!
I think that I would like to have one at every home party on earth.
 The day was a lot, LOT of work, and I was only there for 24 hours at this point! So maybe it was the jetlag. But we were both exhausted, and happy. We both made a bunch of Czech crowns (their $) and it was worth all the work, especially because we were together. And we could clean up the mess together! I didn't have to exchange any money for the rest of my trip! The artist who sold dresses and the masseuse both said they would come back for another one, which is a good sign.
Using what I learned from my sisters party, I am going to host one of my own before Christmas. I am going to have a few vendors at the house to make it interesting. I cant wait to report back about how it goes without my super awesome party planner by my side.

Good luck with your own home/trunk show!
Share YOUR tips, tricks & experience with home parties in the comments below.
We can all learn from you!
Share YOUR tips, tricks & experience with home parties in the comments below.
We can all learn from you!


 Arrange the paper cut-outs onto the fabric.


 Give to the mother-to-be! ENJOY!
 I had a big show last week and needed a new ring display. I wanted something sturdy and with a little bit of chunk to it, so I could show off my Glitter PoP Rings.


